Instagram Stories are one of the most engaging forms of content on the already high engagement platform, so it’s a reasonable desire to want to use them. When you’re putting together a story, you’re putting images and video clips into a sort of collage, but what if you want to brand it?
On one hand, you can just use an image of your logo as one of the images in your Story. That works, but it’s not very engaging. Unless you’re using it like a title screen, it can disrupt the flow of a Story, or even make people think it’s the final slide when it’s not. It’s certainly not always going to be compelling on its own, and it doesn’t have a built-in call to action.
So how can you add your logo to your Stories? There are a handful of different ways, so let’s talk about them.
Getting Started: Preparing Your Logo
The first thing you need to do, if you want to add your logo to an Instagram Story, is have your logo in a format ready to go. I’m assuming that you’re going to be creating your Stories through the Instagram app, because third party platforms don’t allow you to post them. Apps like Later allow you to storyboard them in a simulation of what they’d look like, but you can’t directly post a Story from their system.
You want to start with a high quality source file for your logo. Whoever you paid to make it for you probably has or has given you such a file, but you may want to talk to whoever you have doing graphic design to get you this specific source file. The ideal source logo file for Instagram is about a 600×600 pixel square at 300 dpi.
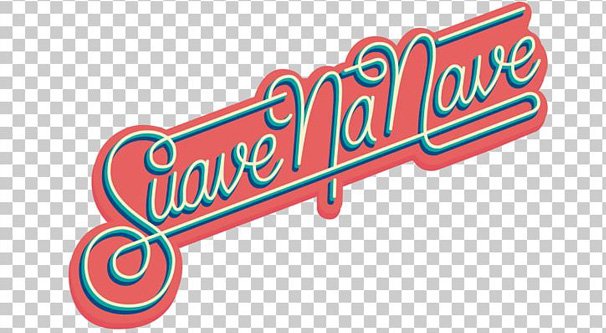
Depending on the complexity of your logo, you may also want to make sure it has a transparent background. It’s difficult to paste a big white box over the top of your other images and have it blend in, but with a transparent background, it can layer over other elements without causing problems. If you don’t already have a transparent version, it’s easy enough to make yourself. Here are some simple instructions.
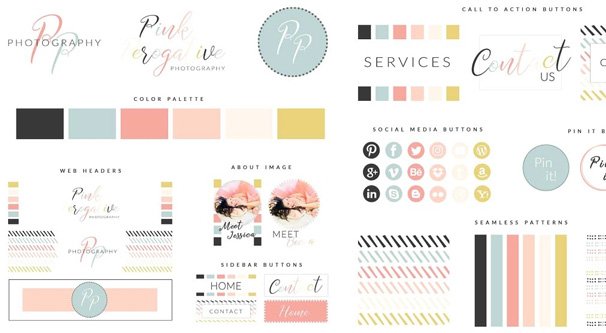
If you want to be extra prepared, you can create an entire “brand kit” ahead of time. This can involve everything from creating your transparent logo to creating a color palette to match your brand’s look. It’s not a bad idea to have a handful of graphic design elements you commonly use on hand. This article gives you a good rundown of the various elements a brand kit might include.
Put the logo on your phone however you’re able to do it. You can email it to yourself, you can put it in a Dropbox or Google Drive account, or even Airdrop it to yourself. I recommend saving it in your camera roll in an album labeled Logos, or something similar where you can always find it. If you end up making variations of your logo later – such as one with text and one without – you can save them all in the same album to pick through quickly and easily.
Option 1: Just the Logo
The first option is one I mentioned up above. You don’t need a transparent version of your logo for this, but having a high resolution copy is a good idea so it doesn’t look jagged or artifacted.
Simply use the image of your logo as one of the images in your Story. It’s not always a bad idea to use your logo as a cover image for the whole presentation. It’s sort of like how most modern YouTube videos produced by professional channels have a quick intro, a few seconds that shows their logo. Incidentally, those simple logo animations are easy to get, they’re one of the few reasons I might recommend Fiverr.
Using a page with your logo on it for the intro to your Story isn’t a bad idea. It puts your branding up front, makes your presentation feel a bit more professional, and allows you to keep a consistent initial thumbnail across all of the Stories you create. On the other hand, it’s not really doing work for you; it’s just there, as a cover page the user has to move past to get to the real meat of your Story.
You can also use your logo as a “credits” page as the last element of your Story. I’ve seen this done when a business has several contributors they want to credit at the end of their Story, such as when the Story is made up of user-generated content. I’ve also seen it used as a heading for a call to action, some text added below it to help push users to take action once the meat of the Story is over. I recommend testing these sorts of options if they’re interesting to you.
Option 2: Pasting the Logo on Another Image
The second option is to use your logo as an element that you add on top of another image in your Story production. This is where having a version of your logo with a transparent background comes into play. Note that the instructions below are for iPhones; you can follow a similar process for Android devices, but the steps are not exactly the same. You may also have better results by downloading an extended clipboard app to give you extra functionality.
First up, open up your camera roll and open the Logo album you made earlier. Find the logo you want to use and tap Export in the bottom left of your screen. This will give you different options on how you can export your image. Choose “copy” from this list, which will copy your logo to the phone’s clipboard.
Next, load up Instagram’s app on your phone. If you haven’t started creating your Story yet, go ahead and do so now. If you’ve already started making a Story and just want to add your logo on top of something in it now, open up the Story draft.
Double-tap on the screen and choose “paste” when the option appears. This will paste the current contents of your clipboard, which should still be your logo. It will probably be large and centered, so adjust it by moving it, rotating it, and scaling it with your fingers as necessary. Position it where you want it to go and where it looks good, then proceed with the usual process of creating your Story.
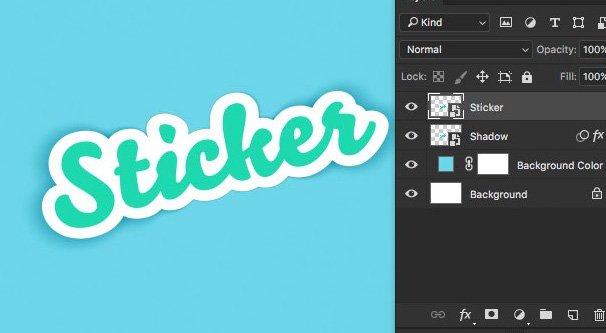
Option 3: Making Your Logo Into a Sticker
This is a tricky option. Technically, Instagram doesn’t allow you to create your own stickers, but you can sort of trick it into making one for you through a similar process to what is listed above. In this case, you need to have your Story ready to go, with the Instagram app open while you’re starting the rest of the process. So, step one is to open Instagram and navigate to your Story where you’re creating it.
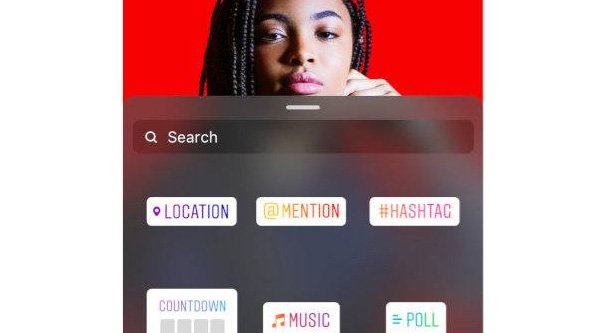
Next, go to your camera roll and find the export option again, and copy it like you do in option 2. Now, tab over to the Instagram app and ideally an option will appear asking if you want to add the sticker you just copied. You can then add this and rotate, adjust, and scale it just like you can with other stickers.
Incidentally, if you would like to create a library of your own stickers to use, or if you want to use animated gif stickers, you can do so with Giphy. Go to Giphy and sign up for an account. You can create and post gifs to Giphy, and when they’re added to your channel, you can create a branded hub of stickers for use later.
Creating a Giphy hub is great for your own use, but it can also be a hub for users to use your branded gifs in their own content as well. It’s a clever little way to add branding and user interaction to another platform on the web, and one that doesn’t take much maintenance at that.
Anything on Giphy can be added to Instagram as a sticker the same way anything on your camera roll is added, so it’s a pretty cool option for hosting your logos – in animated form – and other clever little bits of imagery.
Option 4: Editing Images on PC Ahead of Time
Now, all of the above options are basically workarounds for creating images with your logo on them using your phone. However, many brands aren’t working with their phones; they create their images on a desktop platform, PC or Mac, and upload their images and videos to their mobile devices for posting. Well, many brands use platforms like Later these days, but none of those platforms can create Stories, so you still need to go through a mobile device for Stories.
In this case, it’s simple to add your logo to any image you want to use in a Story. Simply open up both your logo file and your image file in an image editor. Select and copy the logo content – without the background – from the logo source, and paste it into your image. Drag, edit, and position it as necessary.
If you don’t want to pay for Photoshop, I recommend the free program Paint.net – found at getpaint.net – for an adequate substitute. If you don’t want to use something as complex as either of those apps, you can use one of dozens of simple image editing apps or web platforms. I personally recommend Canva, both because it’s easy to add your own creative to their editor, and because they have a ton of useful templates for things like social media posts and Stories.
You can do a lot with a stand-alone editor that you can’t with the simple tools given to you in Instagram or on a mobile device. However, if you can’t pull off what you have in mind, it might be better to hire a graphic artist to compose your images for you.
Option 5: Clever Inclusion in Video Clips
Another way you can include your logo in your Stories without actually having to import your logo itself is to include it in video clips you create. Stories can include short video elements, and you can record those videos with your phone’s camera quite easily.
If you want branding but you don’t want to be obvious about it, consider “product placement” strategies. Find a mug with your company logo on it and place it conspicuously in the background of the scene you record. Print out your logo as a cover page on top of some documents on your desk as you record. Wear a t-shirt with your company logo on it.
If you’re recording video from your phone, you can simply add it to your Story, or you can record it directly from within Instagram. If you want something a little more high quality, you can record it with your phone or with a professional camera, and then upload the source footage to your desktop device for editing, color correction, and other tweaks. Then re-upload the video to your mobile device for inclusion in your Story.
Have you found another method to add your logo to your Stories? Are you particularly clever with the way you use your logo? Let me hear your story below.
