Instagram is an interesting social network because it eschews many social media conventions and yet is still quite successful. It’s focused on mobile first, to the extent that you can’t even post from a desktop device. Where most social networks encourage links and curated content sharing, Instagram doesn’t allow links in posts to be clickable, though you can still post them if you want. They focus more on keeping people on their site, not sending them elsewhere around the internet.
There’s only one location on a profile where a link can be clickable. That link is your one, single available link slot in your profile bio. So, you have a choice to make. Do you link to your homepage? Do you link to a landing page? Do you use an affiliate link to an Amazon storefront, to try to make some sales? Do you link to a rotating selection of content you’re promoting, at the detriment of other content?
What if I told you there was a way you could put more than one link in your bio? You can, but the fact is, it’s a bit of a workaround. It’s not against any Instagram terms of use or rules, so you won’t get banned for using this method. However, it may or may not be worthwhile for your goals. You’ll have to test it to find out.
The Concept
The method I’m going to propose is one that several apps have picked up and made services around, but it’s something you can also do yourself. I’ll give you a rundown of apps and how to do it yourself after the description. So, let’s start at the beginning; what is the method, in the first place?
If you only have space for one link, obviously you’re going to use it. But rather than sending people to a homepage or some other boring page, why not make it a link hub?
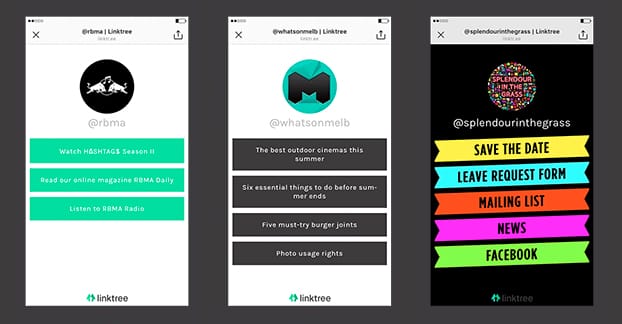
A link hub in this case is just a page that has multiple links leading to other pages. Instagram links to the hub, which links to pages A, B, C, D, and E. It’s like a choose your own adventure page for calls to action; put several options in place for users to choose from.
As I said, there are a few available apps for doing this automatically, but you can also do it on your own. I’ll run over how to do it yourself first, and if that seems like too much work, you can look into the apps. Just keep in mind that, generally, the apps are going to cost money, while the DIY method can be done on your own with no additional resources beyond what you already have, assuming you have a website already.
The Do It Yourself Method
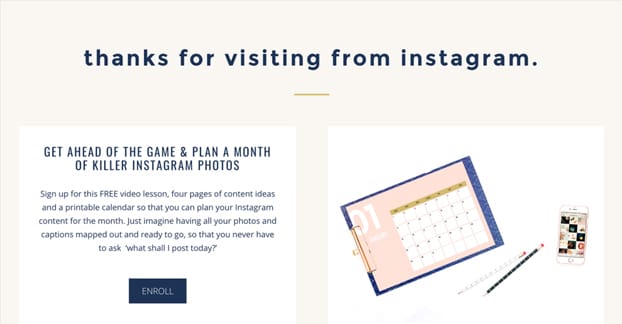
First up, as I mentioned, you need to have a website. All you’re doing is making a single page, essentially, which will have links leading out to other pages. This page should have the Facebook tracking pixel installed, as well as Google Analytics and whatever other tracking code you want to use. It’s a landing page for Instagram traffic. Call it something like www.myblogname.com/instagram, or whatever you like. You have custom branding here, because it’s just another page on your website.
Now, you want this page to be non-standard. What I mean by that is you don’t want to just make it a blog post format in WordPress or anything like that. It should essentially be a blank HTML file when you start, excluding all of the tracking scripts I mentioned. You don’t want all of your site navigation and extraneous data; that takes away from the goal of this being an intermediary page.
The page can have as few or as many links as you want it to have. One of the apps I’ll mention later copies each Instagram post you make, with a clickable link, so people coming from your posts can see where they want to be going visually without needing to read the links and captions. Just keep in mind that only the first few links are going to be visible to a user without scrolling. Just like with Google search results, the first link is going to get the majority of the traffic, all else being equal. You can sway users to another link with graphics and more visible calls to action.
If you’re going to go deep into graphics, I recommend putting some work into graphic design for each call to action. Each entry, each link, should look unique and convey exactly what the user is getting when they click through. One might have images of products in the background, one might have a stack of books to indicate your blog, whatever. Make something that looks good.
Speaking of looking good, the #1 thing you need to remember is that this absolutely, 100% needs to be a responsive page. Remember, this is an Instagram link. The majority if your traffic will be coming from mobile devices. If your page doesn’t look good on a mobile device, it’s not going to do its job.
Publish this page and then put your link to it in your Instagram bio. Now anyone who clicks it or taps it will be brought to your link hub, from which they can click through to whatever content looks compelling.
There’s one more thing you should probably do; make the page noindex. Google doesn’t like “link dump” pages, and there’s a chance they could penalize your site for it. Now, it’s really just a chance; one page isn’t going to crush an entire site even if it is penalized, and Google will likely be smart enough to recognize it’s a landing page if the rest of your site looks fine. However, there’s no reason for the hub to be indexed and accessible via search regardless, so you might as well hide it.
You also need to keep up with maintenance for this page. Test links. Change calls to action. This is basically a specialized landing page for traffic coming from Instagram. Treat it like a landing page, and put it through all the rigors of landing page optimization that apply. Track which links are clicked and which aren’t, remove the worst, add new ones. Rotate out content that is falling out of favor.
Heck, you can even incentivize clicks through with coupons or deals specifically for your Instagram users, if you so desire. I’m pretty sure you can get a few clicks to your shop if you give those people a discount.
Just don’t forget about the page and let links go dead, extend coupons beyond their effective dates, or otherwise make the page less than 100% useful.
Optional: consider making the page dynamic. This post discusses some dynamic link strategies you can use.
What is dynamic linking in this context? Essentially, you set up a filter page in front of the eventual landing page. The filter page identifies some context about the incoming user and dynamically chooses which page to redirect the user to based on that context. This is very frequently used in the app store context, for example. If a site has a “get our app” link and you click it, you’ll either end up on the Play Store or the Apple App Store, depending on your device. You can also use it for geographically-relevant sorting, and all sorts of other potential filters.
Of course, this method requires more development work and scripting, and it requires redirects, which can look sketchy to some people. If it’s fast and it’s valuable at the eventual destination, it can be quite effective, but I understand not necessarily wanting to go all-in on it.
Speaking of a lot of work, all of this sure sounds like it, huh? That’s why there are web apps that allow you to set a link hub up without needing to do it manually. Here are the apps, and some brief information about them.
1: ELink.io
Elink is basically a website maker aimed at making branded, linked newsletters. It’s essentially setting up a page the way we’ve talked about up above, except with more features. It’s aimed at making something a bit more like a magazine or a blog page, full of curated content.
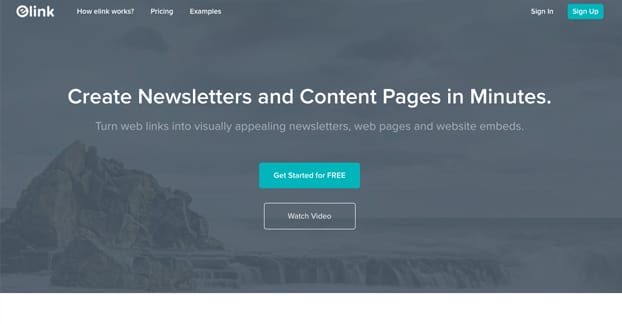
If you’re simply using this for Instagram, you don’t need the majority of the features of ELink. However, you CAN use ELink to set up a rotating feed of content you find interesting, or even just an RSS of your own blog, if you find that works for your readers.
ELink has a free version that allows unlimited links, but restricts you to basic templates and places an ad banner on your page, so they make money from your traffic and you lose clicks. The Pro version is $12 per month and gives you no ad banner, a link library, and a bunch of integration stuff that probably isn’t useful in this specific context.
2: Fotolink
Fotolink is the opposite end of the spectrum. It’s free and it’s unlimited; you can set it up very easily and just add links as necessary. On the other hand, there is very little you can do with it. Links are displayed in one single style, with Instagram information pulled to fill the top bit with your image and username.
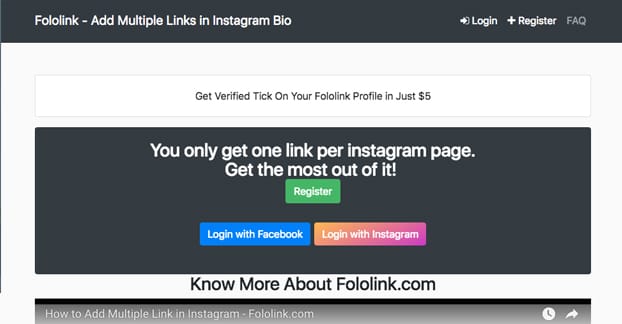
It has their copyright information at the bottom, which is fine, though maybe less valuable for a brand looking to grow. You also can’t add in tracking and various analytics. The best you can do is make sure you tag the links you add with viable UTM parameters.
3: Link In Profile
This is another fairly simple version of the app. You set it up quickly, since it pulls most of its information from Instagram automatically. You add the link to your Instagram profile, and you add links to the page.
You can simulate adding links to Instagram posts with this app, because the posts it makes by default in your landing page are copies of your Instagram posts. You simply add your own link to it.
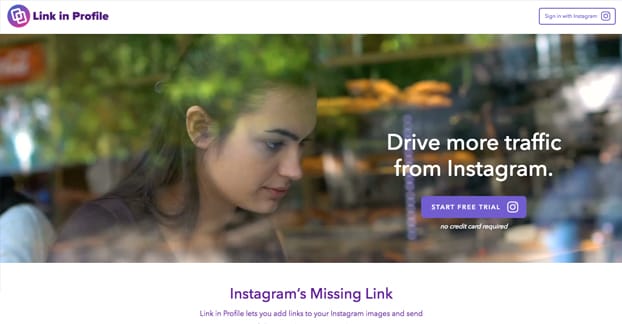
One added benefit of this particular app is that they have their own analytics for the traffic you send through. It’s not the most robust suite around, but it gives you more than nothing, which is better than, well, nothing.
You can register for a 30-day free trial if you want, but after that you’re signed up to pay $10 per month for the service. They give you a dedicated landing page, branded with your own Instagram information, and they totally allow commerce links, affiliate links, and whatever else you want to use.
4: Lnk.bio
Another service, more of the same. This one gives you a randomly-generated URL for your links. It’s easy to set up, as always; you sign in via Instagram and it imports the relevant information. It’s easy enough to start creating links; just add them through their interface. It’s not all that graphically interesting, but it works, and that’s really all you need.
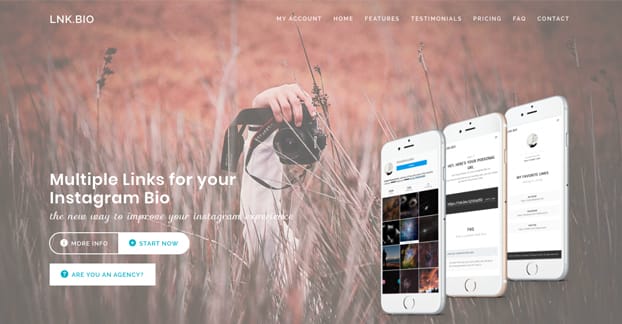
Pricing-wise, they have three plans. The free forever plan is free, gives you the random URL, and lets you go at it. They have a $1 per month plan that gives you some link tracking and analytics, and lets you set a custom lnk.bio/URL. If you don’t want to pay monthly, you can just buy the lifetime version for $10, flat. It’s the same as Pro, but a one-time payment. Frankly, this is a pretty good option.
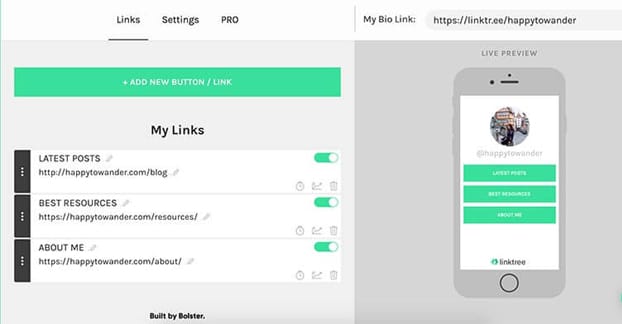
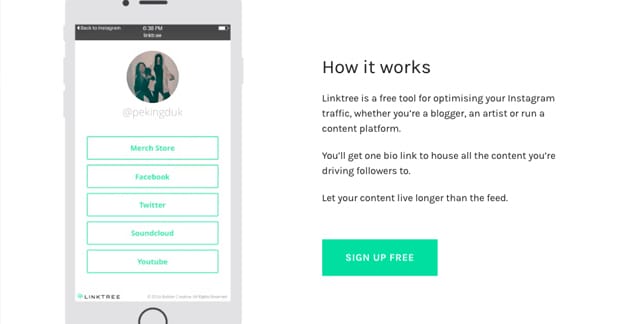
5: Linktree
Linktree lets you have a custom URL and add unlimited links. You can see the traffic you pass through the links, but that’s it; it’s just a hit counter. You also have to pick from one of their themes with the free version. The pro version is $6 per month and gives you additional analytics, customization of the link page and title, scheduling for adding links, and even some retargeting via the Facebook Pixel.
There are other options as well, of course. In fact, if you know of one, feel free to let me know in the comments. If it has something unique about it, maybe I’ll add it to the list.


Great post – I’ve been looking for this information for a while and I finally have some answers haha. Thanks for writing!